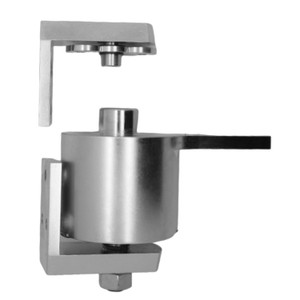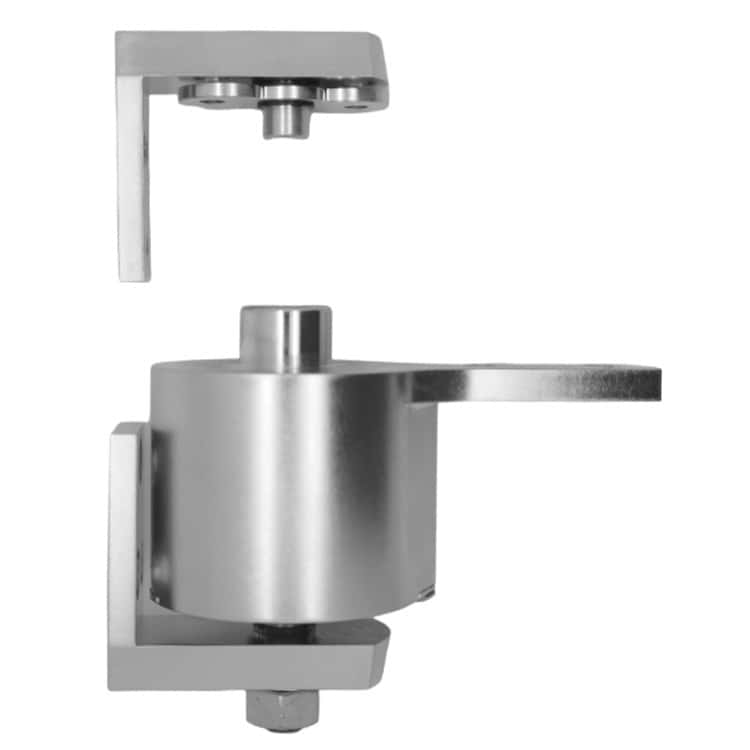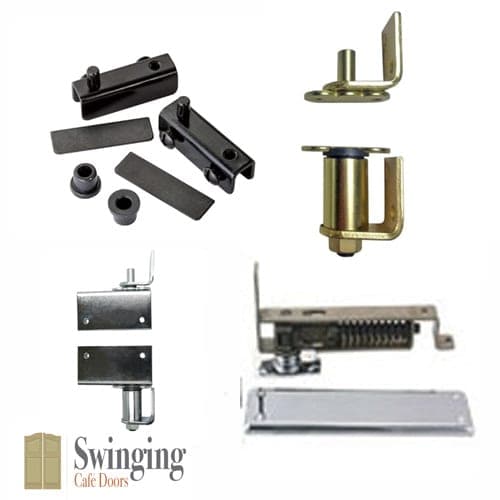
Step-by-Step Guide: Replacing Bommer 7112 Hinges with Non-Adjustable Spring Pivot Hinges
Step-by-Step Guide: Replacing Bommer 7112 Hinges with Non-Adjustable Spring Pivot Hinges
Replacing Bommer 7112 hinges with non-adjustable spring pivot hinges is a simple process that enhances door functionality while maintaining durability. Whether you're a professional installer or a DIY enthusiast, this guide provides clear steps to ensure a smooth and successful hinge replacement.
Key Takeaways :
- "Swapping Bommer 7112 for non-adjustable spring pivot hinges restores durable, self-closing, double-action performance with smoother movement."
- "Follow a simple flow: support door → remove 7112 → prep/fill and drill new pilots as needed → mount top hinge, then bottom → rehang and test swing."
- "For a clean, long-lasting install: use a level for alignment, verify clearances, tighten all screws, and lubricate pivots if motion feels stiff."
Why Replace Bommer 7112 Hinges?
Bommer 7112 hinges are widely used for double-action doors, but replacements may be needed due to wear, availability issues, or a preference for a different hinge type. Non-adjustable spring pivot hinges offer:
✔ Durability – Built for high-traffic commercial and residential spaces
✔ Self-closing action – Ensures doors automatically return to position
✔ Smoother operation – Reduces resistance and enhances door movement
Tools & Materials Needed
Tools:
- Screwdriver (Phillips or flat-head)
- Drill with appropriate bits
- Measuring tape
- Level
- Pencil or marker
Materials:
- Non-adjustable spring pivot hinges
- Screws (typically included with hinges)
- Wood filler (if adjusting screw holes)
Step-by-Step Installation Process
Step 1: Remove Existing Bommer 7112 Hinges
1️⃣ Support the door with wedges or an assistant.
2️⃣ Unscrew the hinge plates from the door and frame.
3️⃣ Carefully remove the door and set it aside.
Step 2: Prepare the Door & Frame for New Hinges
4️⃣ Align the new hinge template with the previous hinge location.
5️⃣ If necessary, drill new pilot holes to secure the new hinges.
6️⃣ Use wood filler to cover any unused holes for a clean look.
Step 3: Install the Non-Adjustable Spring Pivot Hinges
7️⃣ Attach the top hinge to the door first, securing it with screws.
8️⃣ Position the bottom hinge and fasten it securely.
9️⃣ Ensure hinges are aligned to allow smooth double-action movement.
Step 4: Reinstall & Test the Door
Lift the door into position and secure the hinges to the frame.
Test the swing action – the door should move freely in both directions.
If necessary, tighten screws to stabilize the hinges.
Final Tips for a Successful Installation
✅ Use a level to ensure door alignment and prevent uneven swinging.
✅ Check for obstructions before finalizing installation.
✅ Apply lubricant if hinges feel stiff during movement.


